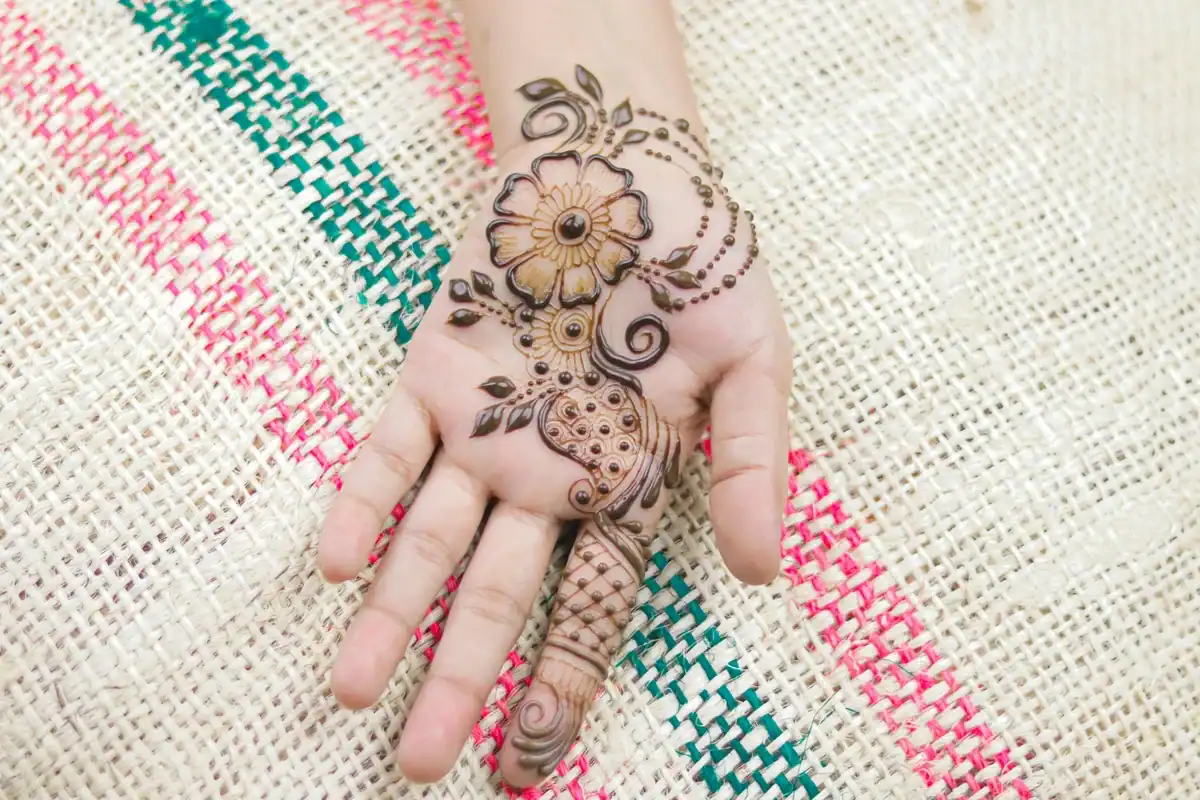
Baby Motif Front Hand Design With Floral Center And Vine Details
50 min · Intermediate
2 designs · 5–25 minutes · beginner-friendly
The recipe
Six steps. Forty seconds to read, fifteen minutes to apply, eight hours to set.
Wash and dry the back of your hand. Skip moisturiser — it blocks the stain.
Mark a single dot at your starting point so the design has a centre of gravity.
Draw the silhouette of every motif before filling. If you stop here, the design still reads.
Fill solid only where the design demands it. Empty space is part of the pattern.
Dab a lemon-sugar mix on the dry paste. Leave on for at least six hours.
Flake the dried paste off with a butter knife. Avoid water for the next 24 hours.
A coin-sized mandala at the centre of the palm — framed by negative space — is the design we recommend most. Three strokes you can practise on paper, under ten minutes, and it forgives a slightly shaky line.
Five to twenty-five minutes for the designs in this collection. The fastest is a single line traced across the base of the fingers (under five); the most involved is a half-mandala fanning into the palm.
Yes — simple front hand patterns are the most beginner-friendly placement because the back of your non-dominant hand is the easiest target for a steady line.
Three rules: leave more empty space than feels comfortable, anchor the design at one point (wrist or palm centre), and commit to one motif family per design.