Baby Motif Front Hand Design With Floral Center And Vine Details
50 min · Intermediate
For — Beginners
Under fifteen minutes per design, four basic strokes, forgiving compositions. 3 curated beginner-friendly mehndi design ideas — plus the six-step starter routine for someone holding a cone for the first time.
About this collection
Mehndi for beginners is its own category because the choices that make a design forgiving are different from the choices that make a design impressive. A first-week beginner does not need bridal Rajasthani jaal — they need a mandala that hides shaky line work behind radial symmetry. The designs in this collection are curated specifically for that brief: under fifteen minutes per application, four basic strokes (line, curve, teardrop, dot), and compositions that read as composed even when the line wobbles.
The path from beginner to confident applicator is twenty hands for simple work, fifty for stylish, a hundred and fifty for bridal-weight royal. The fastest progression is daily paper practice plus a fresh hand every weekend. The slowest is applying once a month and never opening a cone in between. Skip the advanced motifs (jaal, peacock, khafif filling) until your first ten hands are behind you.
The starter routine
Read this once before opening a cone. Skip any step at your own cost — patch-testing in particular is non-negotiable.
Snip the cone tip 1mm from the end with sharp scissors. Practise a line, a curve, a teardrop, and a dot on plain paper. If the paste comes out too thick, snip another half-millimetre off; too thin, replace the cone (the cut went too far). Spend five minutes here before touching skin.
Place a coin-sized dot of paste on the inside of your wrist. Leave for two hours, scrape off, watch the spot for the next twenty-four hours. Redness, swelling, blistering, or itching means do not apply. An uneventful brown stain means proceed. Skip this step only if you have used this exact cone brand before with no reaction.
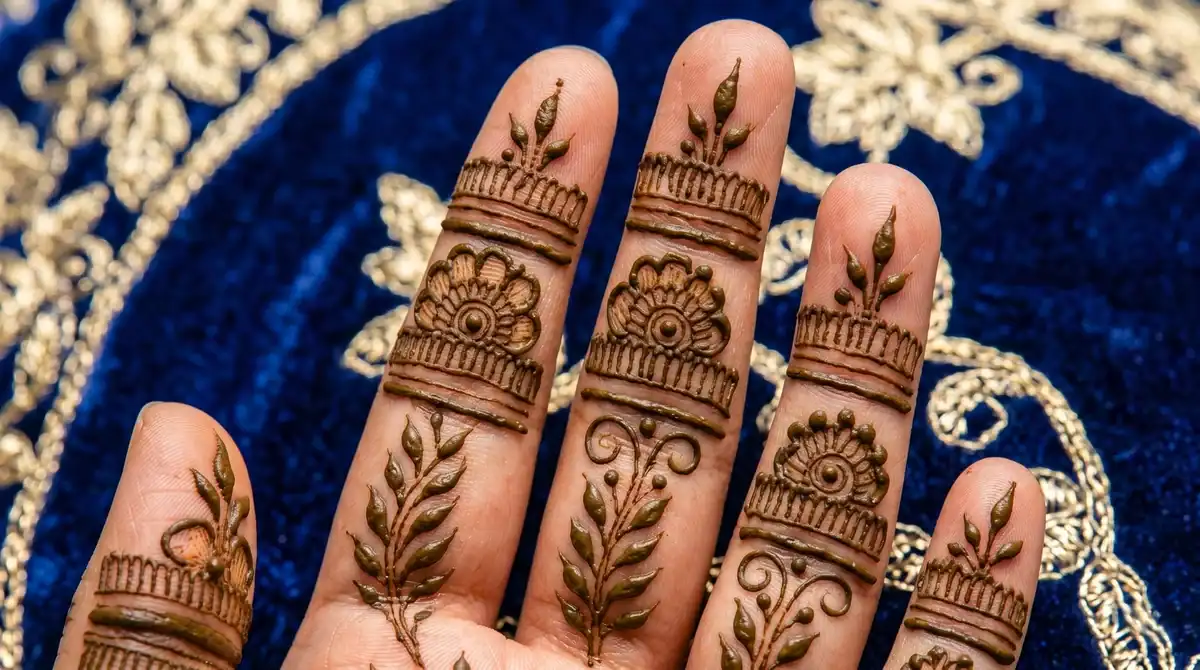
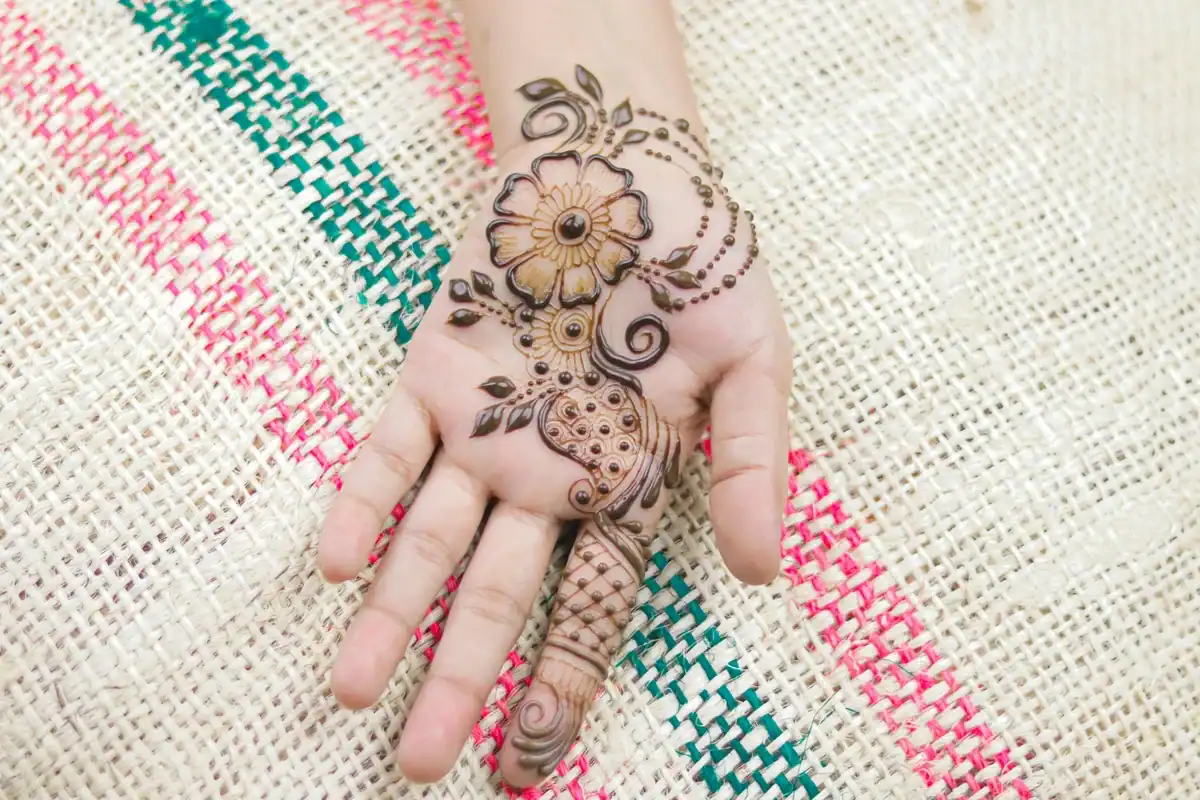
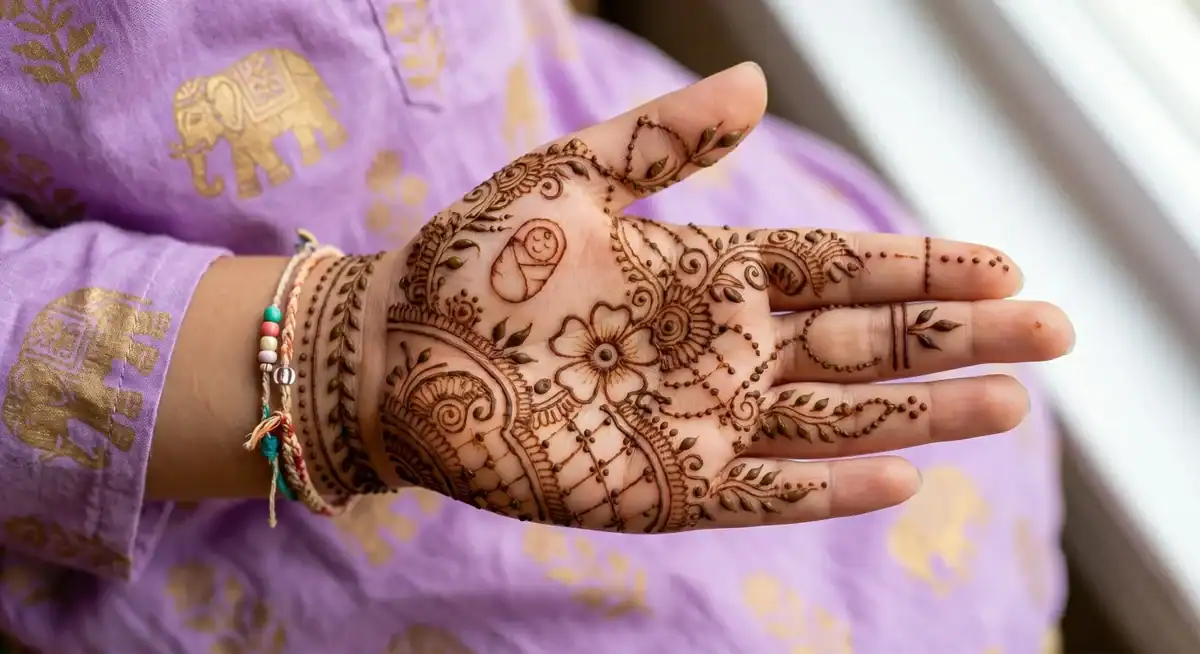
A single mandala at the palm centre, a lotus, or three buti scattered across a wrist. Avoid jaal nets, peacock motifs, and khafif filling for a first attempt — these read as botched the moment a line wobbles. Mandala, lotus, simple paisley, and three-buti scatter all hide irregularity behind radial symmetry or surface scatter.
Place a single dot where the design will sit before drawing anything else. The anchor is your reference point for everything that follows — without it, the design drifts as you build outward. Build outward from the anchor in concentric rings, never working from edge inward.
Leave the paste on for two to four hours of normal activity. Once dry, the paste cracks slightly — that is fine. Scrape off with the back of a butter knife or a fingernail rather than washing. Water during scraping dilutes the stain by twenty per cent or more.
The stain darkens over the first twenty-four hours. Avoid soap, swimming, the gym, and long showers during that window. Steam the design above warming cloves for two minutes the morning after for an extra shade. Expect mahogany by hour twenty-four; the spot you applied first will already be darker than the spot you applied last.
A single mandala at the palm centre. Anchor with a dot, draw a small circle, divide it into six slices, add a teardrop petal in each slice, outline with a larger circle, place a dot at each petal tip. Total time: under five minutes once you have practised the petals on paper twice. The radial symmetry hides shaky line work, the small surface limits the damage of a wobble, and the deep palm stain saturates the design into a high-contrast medallion.
Six steps. Buy fresh natural-henna cones from a known source — never market-stall paste, never anything sold as "black henna." Practise four basic strokes on paper first: line, curve, teardrop, dot. Patch-test the paste on the inside of your wrist twenty-four hours before applying. Choose a forgiving first design (mandala, lotus, three scattered buti). Anchor with a centre dot before drawing anything else. Leave the paste on two to four hours, scrape off, avoid water for the first day.
Four. The line — straight, controlled, drawn by moving the whole arm rather than the fingers. The curve — a smooth arc, drawn by rotating the wrist gently rather than steering with the fingertips. The teardrop — narrow at one end, wider at the other, the building block of every petal and paisley. The dot — a single press of the cone tip, used for centres, accents, and beginner safety nets when a line drifts. Master those four and you can draw eighty per cent of the mehndi vocabulary.
Like a pen, with the tip pointing toward the skin at a thirty-degree angle. Squeeze the body of the cone with the middle three fingers, not the thumb-and-index pincer used for writing. The squeeze controls paste flow; the thumb-and-index just steer. Keep the tip a fraction above the skin — actually touching the skin smudges the line. The most common beginner mistake is over-gripping with the index finger; relax it.
Three. Jaal nets — the diagonal grid pattern across the back of the hand demands consistent fine line work that takes years to develop, and irregularity reads instantly as a botched line rather than variation. Peacock — the tail feathers require precise paisley walks that fight each other if any single one is off. Khafif filling — the Pakistani stippled pattern looks forgiving but is not; uneven dots read as scratched rather than textured. Stick to mandala, lotus, rose, single paisley, and three-buti scatter for your first ten hands.
Twenty hands gets you reliably good at simple patterns. Fifty gets you reliably good at stylish patterns. A hundred and fifty hands gets you to the point where bridal-weight royal work is within reach. The fastest progression is daily practice on paper plus a fresh hand every weekend; the slowest is sporadic application on a hand every few months. Most self-taught artists plateau because they stop drawing on paper after the first month — keep paper practice up alongside skin work.